
I remember as a child, my grandma telling me she could make a burger that would beat McDonald’s, which we all know is a lie. We have all been told that homemade is better than store bought or restaurant made, and while I can’t speak for every food, Kimchi is one of those foods. My first experience with Kimchi was store bought and I thought it was terrible. After going to a Korean restaurant, I realized how wrong I was and how delicious Kimchi is. Making Kimchi yourself is an enjoyable experience and you will appreciate Kimchi so much more. I found this great recipe by KOREAN BAPSANG that was amazingly helpful.
Tools needed
Kimchi preparation requires the same tools used to make Sauerkraut
- Wooden Tamper
- Fermentation Container
- 64 ounce jar
- A big bowl
- Gloves
Ingredients needed
This is where it gets interesting: the best place to shop would be your local Asian grocery. I got all these ingredients at H-Mart which was a challenge as some of the names in the recipe did not match what was on the package. For example, glutinous rice powder is just Sweet Rice Flour. I spent about an hour running around the grocery store looking for the ingredients. If you want to save yourself some time, I would recommend purchasing some of the rarer ingredients off of Amazon.
- 1 large napa cabbage (about 5 to 6 pounds), or 2 small (about 3 pounds each)
- 1 cup Korean coarse sea salt
- 5 cups of water
- 1 pound Korean radish (mu/moo)
- 1/4 Asian pear (optional)
- 3 – 4 scallions
- 1 tablespoon glutinous rice powder(Sweet Rice Flour)
- 1/2 cup Korean red chili pepper flakes(gochugaru)
- 1/4 cup salted shrimp (saeujeot), finely minced
- 3 – 4 raw shrimp (about 2 ounces), finely minced or ground
- 3 tablespoons fish sauce (myulchiaekjeot)
- 3 tablespoons minced garlic
- 1 teaspoon grated ginger
- 1 teaspoon sesame seeds (optional)
- 1/2 cup water or dashima (dried kelp) broth
Some of the more fun ingredient labels.
The Process
Making Kimchi is hard, full stop as there are so many steps and ingredients which makes it very challenging but certainly doable. There are three overall steps:
- Preparing the napa cabbage
- Preparing the seasoning
- Allowing the fermentation to happen.
Prepare the Napa cabage by cutting off the stems and bathing the cabbage in a salt brine. After the salt brine bath, spread the cabbage leaves and rub generously with Kimchi salt. Kimchi salt reminds me of salt you use to spread on the sidewalk during the winter as it has very large grains. As with all fermentation, do not use regular salt, use salt specifically for pickling/fermentation as there are no additives.
Once the cabbage has been salted, let it sit for about 6-8 hours. It is good to go, when the leaves are bendable. I love it when the plants wilt by adding salt. You can see the difference below.
While waiting for the cabbage you can begin to make the seasoning for the Kimchi. Be prepared to measure. One of the things that made me nervous was the use of raw shrimp. I know now that there is nothing to be worried about but its a little intimidating using uncooked seafood in a fermentation that sits outside the fridge for a day. I love before and after pictures.
While on the topic of shrimp, the saeujeot or salted shrimp were kind of funny as you can see their beady little eyes. They are still in my fridge and stare at me every time I open the door.

The rice flour paste made me uncomfortable.

Once everything was measured and added to the bowl it was time to mix the ingredients together. You can see that the shrimp changed the color slightly of the overall mixture.
With the seasoning made, it was time to add the Asian pear and the Korean radish to the mixture. If you have not had an Asian pear, they are delicious and very juicy. Korean radish reminds me of a cross between a carrot and a potato. They are extremely easy to cut as they are not as starchy as a potato.
“If it doesn’t fit, you must acquit.”

Guess I’m guilty of making Kimchi.

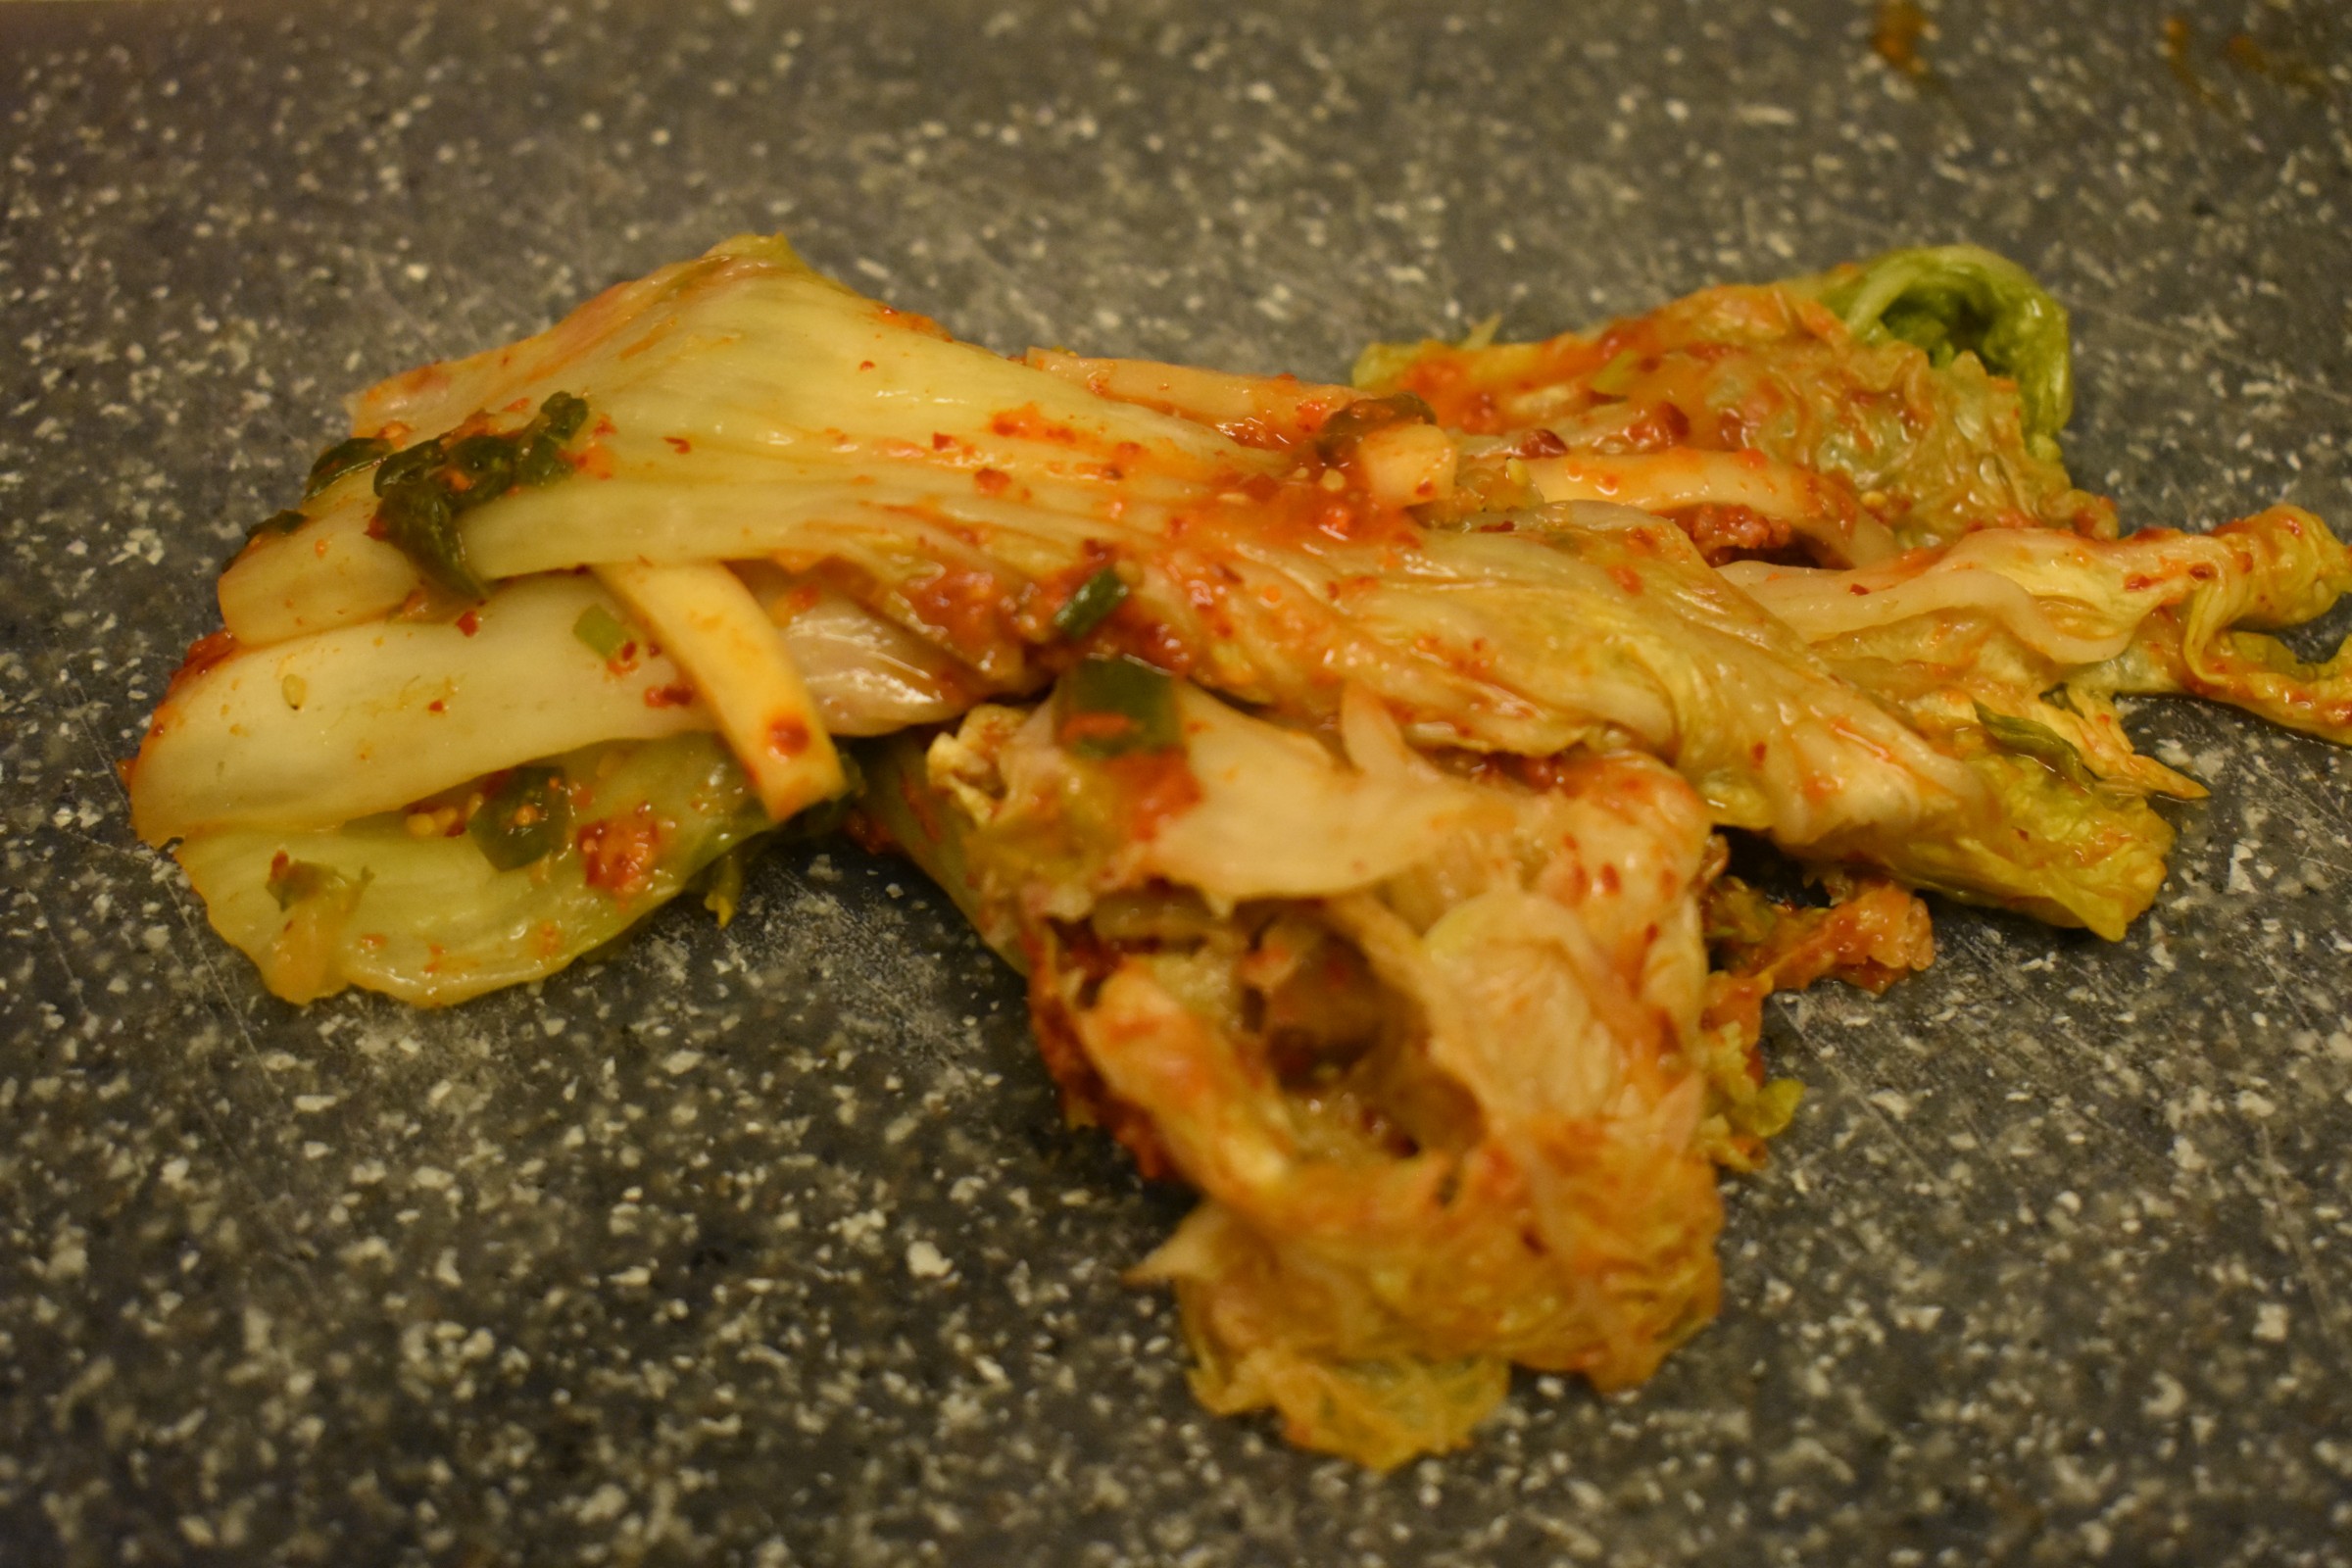
Last step is to pack the Kimchi into the fermentation crock. Leave it out of the fridge for 1-2 days and then let age for two weeks for best results. The first picture is the Kimchi at the beginning of the process, by the end a lot of the liquid had been absorbed back.
The End Result
This was the best Kimchi I have every had. It was fizzy and despite all the hot pepper flakes it was not too spicy. It is awesome to eat as is or used with something else. So far I have made Kimchi fries and Kimchi fried rice and I look forward to making more recipes with the Kimchi.
