
With Covid-19 we are all cooped up in the house and baking is everyone’s new hobby. Kaia documented making this recipe for her coworkers and it is a wonderful read. As the receipt of the Rosinboller, I can confirm they are great!
These Raisin Buns or Rosinboller as they are called in Norwegian are to the Norwegians as croissants are to the French. You find them at every bakery and café and they are enjoyed both warm and cold and sweet and savory.
What gives these Rosinboller their unique flavor is the spice cardamom, which is interestingly the world’s third most expensive spice. The Norwegians (and other Scandinavians) love cardamom. After India and the Middle East, Scandinavia leads the world in cardamom consumption. And that is saying a lot – Norway only has a population of 5 million. They even have a children’s amusement park within a zoo named Kardemomme By (Cardamom Town) based on a favorite children’s book. Obviously the spice is not native to Norway but it has been used in Norwegian cooking likely close to a 1000 years as the Vikings were the first to bring this spice to the north.
I made a batch this past weekend and here is the recipe. The recipe makes for 20 buns. You can freeze them after baking as well. Just defrost in the oven for 10 minutes at 150C or about 300F. The original recipe I use uses the metric measuring scale, but many kitchen measuring tools come with both scales.
- 100g butter
- 550g flour
- 90g sugar
- ½ tsp baking powder
- 1 tsp ground cardamom
- ¼ tsp salt
- 3.5 dl milk (I used 1% although higher fat probably tastes better)
- 50g fresh yeast or 1 pkg dry yeast (I used dry yeast)
- 100g raisins (or more or less)
- 1 egg to glaze
Preparation
Crumble the butter in the flour in a food processor or by hand. Mix in the rest of the dry ingredients. If you are using dry yeast add that in now.
Warm the milk to about 100F (37C) and add the fresh yeast (if using fresh yeast). Slowly add the warmed milk to the dry ingredients. At this point I used a KitchenAid. It is easier to set the KitchenAid on low and slowly pour the warmed milk into the dry ingredients. The dough will seem quite wet at first. Make sure you get all the flour from the bottom of the bowl. When the dough forms a ball and easily separates from the bowl is when it’s ready. You may need to add a bit more flour if it’s too wet. But be careful to not dry it out.
Set the bowl aside and cover with either a kitchen cloth or plastic and let rise for about 45 minutes on the kitchen counter. It should look like this before it rises.

After 45 minutes, spread some flour out on a board and take your dough out. Separate the dough into two balls and mix in the raisins. From there start to form the individual buns on parchment paper. When the individual buns are formed set aside and let rise a second time for about 20 minutes (covering with a cloth or plastic)

Preheat the oven to about 400 F (225C). Right before you put them in the oven, whisk the egg and glaze the tops of the buns with a brush.
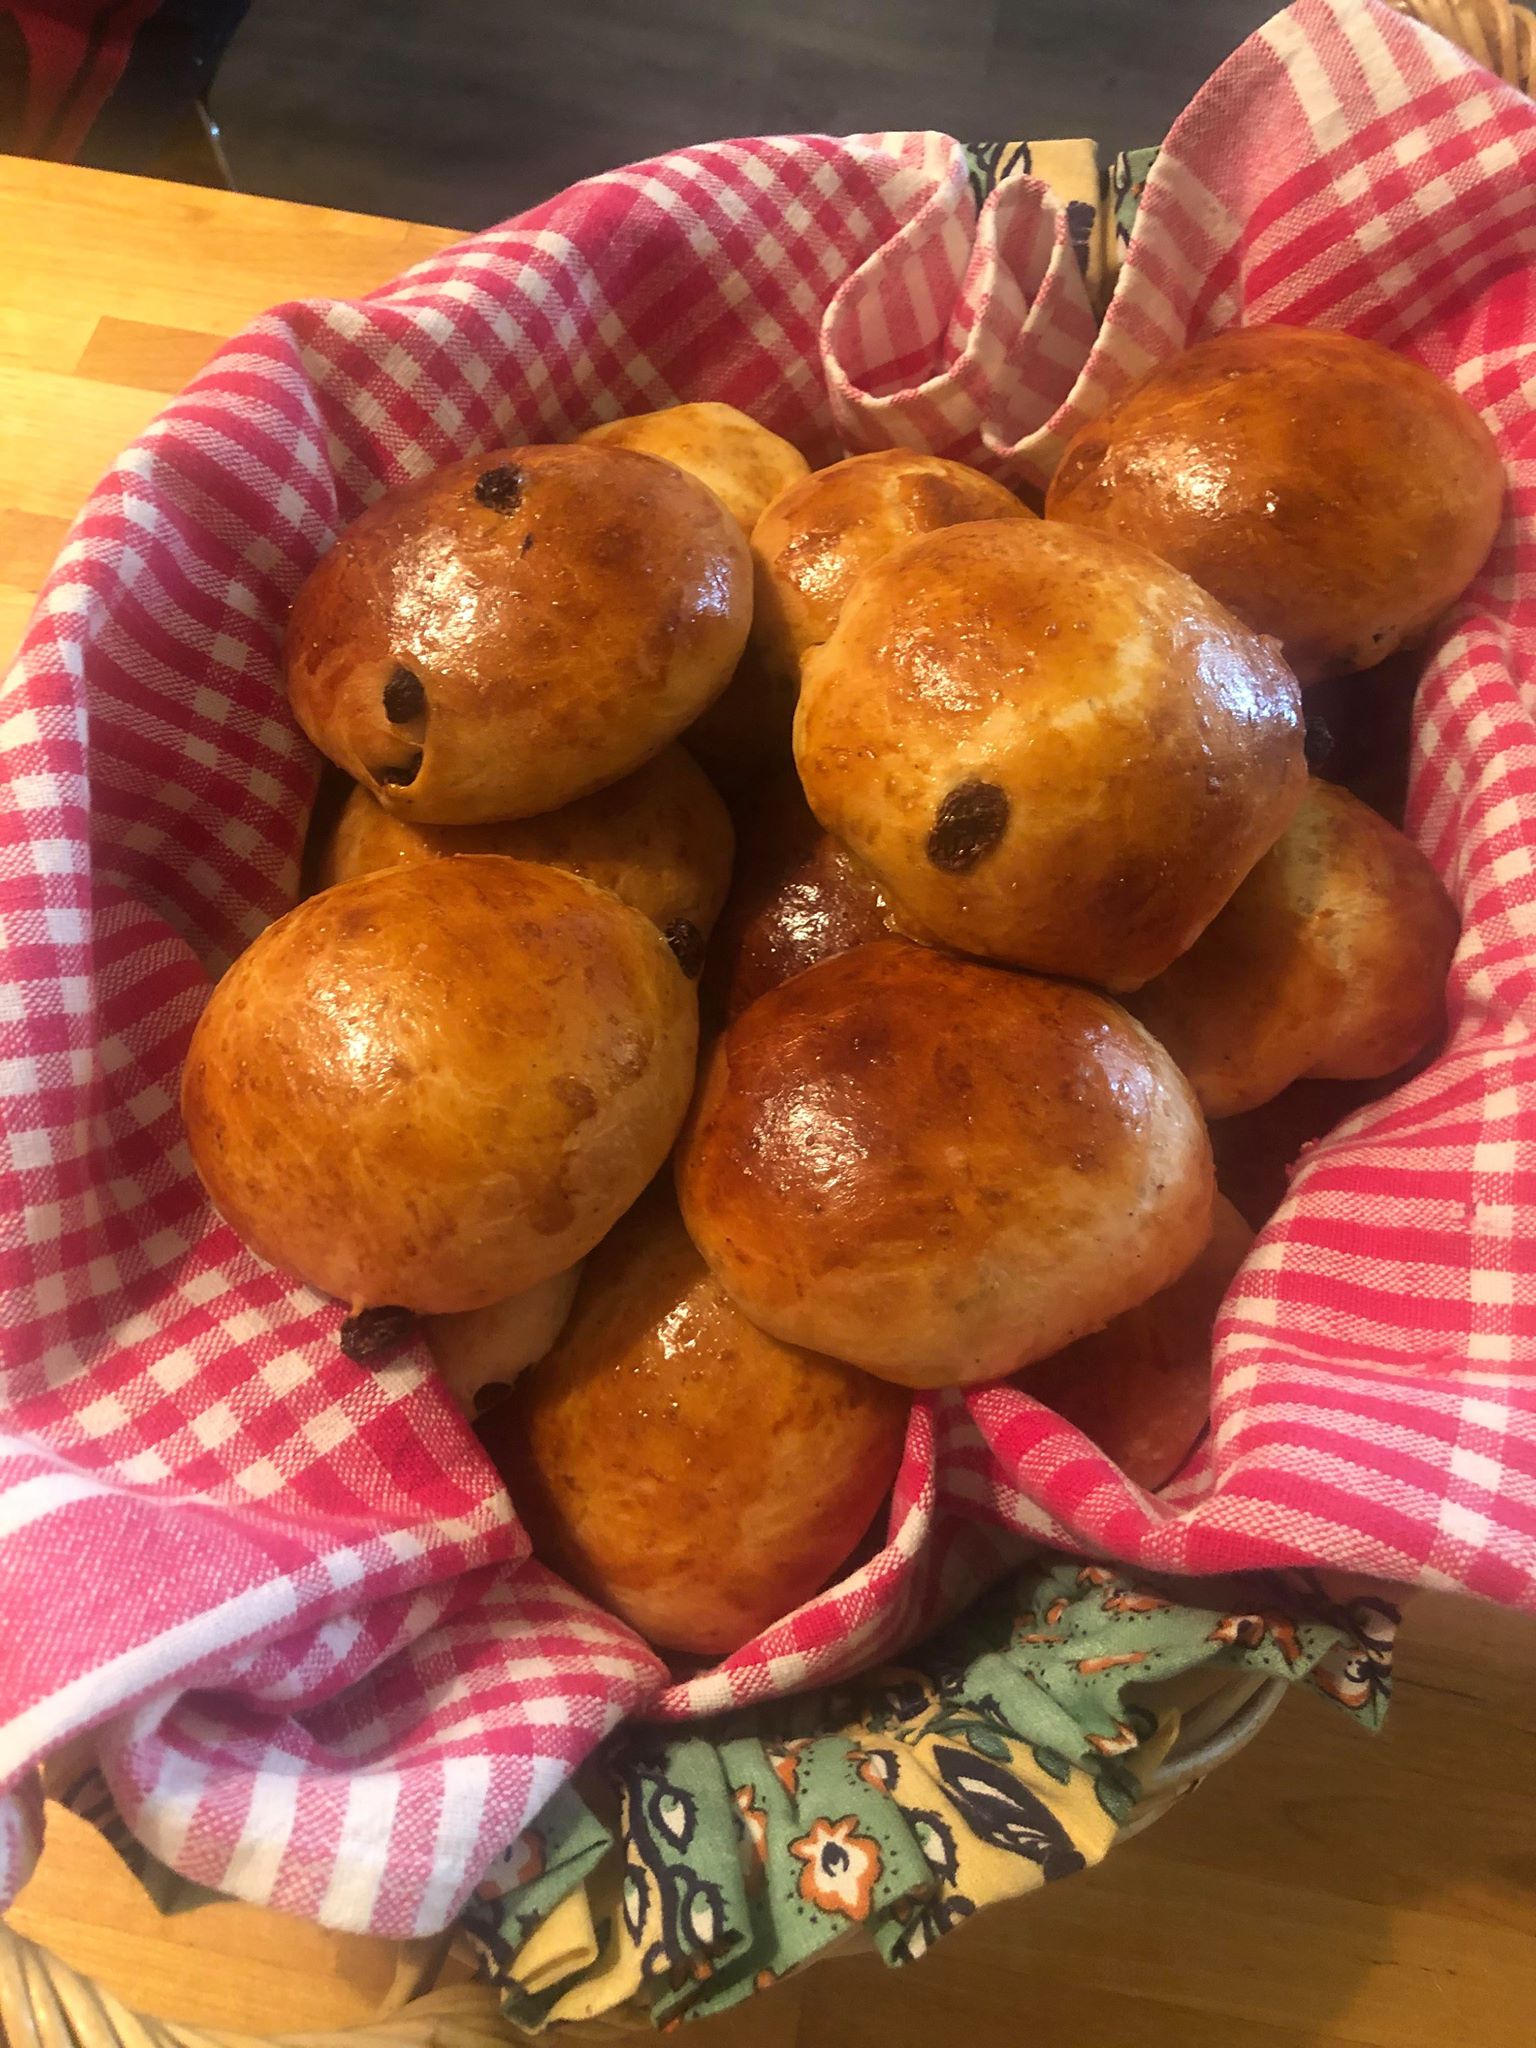
Bake the buns (on the parchment paper on the baking sheet) for about 10-12 minutes. This depends on your oven and the size of the buns. I needed to add about 3 additional minutes. Take them out when they are golden in color. Let them rest a few minutes. They are great warm and cold.

